Quickstart
NFT.Storage is a storage service that lets you upload off-chain NFT data for free, with the goal to store all NFT data as a public good. The data is stored perpetually in the Filecoin decentralized storage network and made available over IPFS via its unique content ID. You can upload as much data as you want as long as it's part of an NFT (e.g., metadata, images and other assets referenced in a token or its metadata), although there is currently a limit of 31GiB per individual upload.
NFT.Storage is especially useful for individual creators who are minting NFTs, or NFT tooling developers looking to support creators and collectors! NFT.Storage is super easy to use and integrate, gives you back the content ID of your upload which you need when minting an NFT to make it truly immutable, and makes your data performantly available.
Ready to get started using NFT.Storage right now? Get up and running in minutes by following this quickstart guide. In this guide, we'll walk through the following steps:
- Creating an NFT.Storage account
- Uploading a file via the website
- Uploading files & directories via the NFTUp application
- Getting a free API token
- Using the JavaScript API
This guide uses Node.js since it's the fastest way to get started using the NFT.Storage JavaScript client programmatically, but don't worry if Node isn't your favorite runtime environment — or if you'd rather not do any coding at all. You can also use NFT.Storage in the following ways:
- Using the JavaScript client in web browsers.
- Upload and retrieve files directly from your Files page on the NFT.Storage website.
You can also use the HTTP API directly using any programming language or tooling that can send HTTP requests.
When using the HTTP API, make sure to read about CAR files to learn how to support large uploads!
Create an account
For this guide, you'll need an NFT.Storage account to get your API token and manage your stored data. You can sign up for free using your email address or GitHub.
- Sign up using Email
- Sign up using Github
- Go to nft.storage/login to get started.
- Enter your email address.
- Check your inbox for a verification email from NFT.Storage, and click the Log in button in the email.
- You're all set!
- Go to nft.storage/login to get started.
- Click GitHub on the Login screen.
- Authorize Web3.Storage when asked by GitHub.
- You're all set!
Uploading a file using the website
Once you're logged in, you can get started with NFT.Storage right away by uploading files using the website.
- Click Files to go to your NFT.Storage file listing page.
- Click the Upload button to go to the File upload page.
- Click the Choose File button to select a file from your device:

- If you're uploading a CAR file, tick the is CAR? check box.
- Click the Upload button to store your file!
Once the upload is complete, you'll be able to view your file in the file listing page.
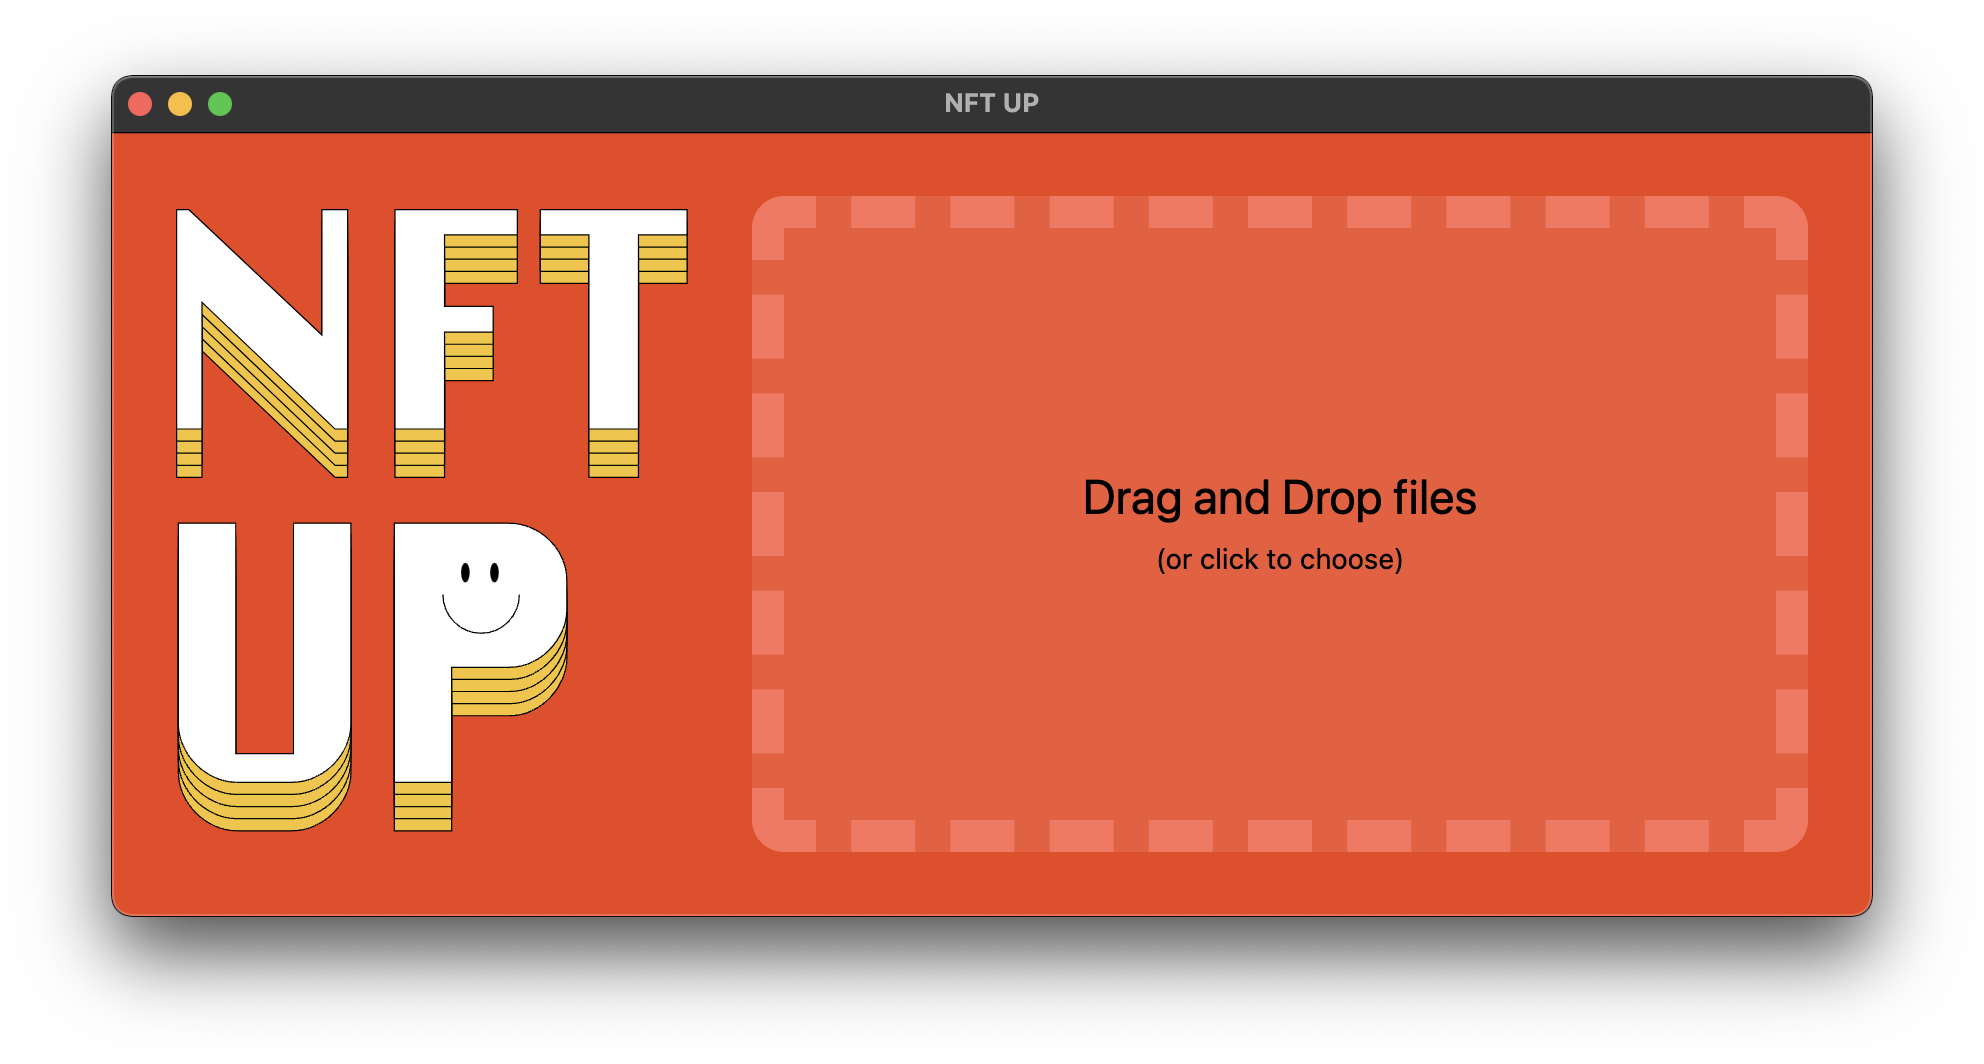
Uploading files & directories via the NFTUp application
NFTUp is the easiest way for content creators to upload their metadata and assets, ready to be minted into NFTs by smart contracts and then traded on marketplaces, and browsed in galleries.
- Download and install NFTUp for your OS
- Launch the application.
- Drag and drop some files or folders on it. You might be prompted for your NFT.Storage API key. You can get your key on your account page.
- Upload any file structure you want. If you are doing something like a HashLips build, you can upload the assets and metadata at the same time by dragging them both to the upload box.
- Once the upload is complete, you'll get a link to your content. Click it to fetch your data from the IPFS network.
- Set your smart contract base URL, or otherwise share your content with NFT minting services.
- Contribute on GitHub.
Get an API Token
It only takes a few moments to get a free API token from NFT.Storage. This token enables you to interact with the NFT.Storage service without using the main website, enabling you to incorporate files stored using NFT.Storage directly into your applications and services.
- Click API Keys to go to your NFT.Storage account page.
- Click Create an API token.
- Enter a descriptive name for your API token and click Create.
- Make a note of the Token field somewhere secure where you know you won't lose it. You can click Copy to copy your new API token to your clipboard.
Keep your API token private
Do not share your API token with anyone else. This key is specific to your account.
Using the JavaScript API
If you're building apps with JavaScript or TypeScript, the NFT.Storage JavaScript client makes it simple to upload files and create ERC-1155 compatible NFT metadata.
The client library uses the familiar web File API and includes a File implementation for Node.js. Below is a small example that reads in the path to a file from the command line and stores the file with NFT.Storage.
You'll need Node.js version 16 or later for this example.
- Make a new JavaScript project.
Create a new directory and use npm to create a new project:
mkdir nft-storage-quickstartcd nft-storage-quickstartnpm initNPM will ask a few questions about your project and create a package.json file.
- Add the
nft.storageclient to your project dependencies.
Install the latest version of the nft.storage package:
npm install nft.storageWhile we're at it, add the mime package, which will help us guess the file type for a given filename.
npm install mime- Create a file called
upload.mjsand open it with your code editor.
Below is the code we need to upload an image with ERC-1155 compatible NFT metadata.
Paste in the code below and read through it. Feel free to remove the comments - they're just there to highlight what's going on.
Make sure you replace the value of the NFT_STORAGE_KEY variable with your NFT.Storage API token.
In a real app, you should read the token from an environment variable or config file that's not checked into source control!
// Import the NFTStorage class and File constructor from the 'nft.storage' packageimport { NFTStorage, File } from 'nft.storage'
// The 'mime' npm package helps us set the correct file type on our File objectsimport mime from 'mime'
// The 'fs' builtin module on Node.js provides access to the file systemimport fs from 'fs'
// The 'path' module provides helpers for manipulating filesystem pathsimport path from 'path'
// Paste your NFT.Storage API key into the quotes:const NFT_STORAGE_KEY = 'REPLACE_ME_WITH_YOUR_KEY'
/**  * Reads an image file from `imagePath` and stores an NFT with the given name and description.  * @param {string} imagePath the path to an image file  * @param {string} name a name for the NFT  * @param {string} description a text description for the NFT  */async function storeNFT(imagePath, name, description) {    // load the file from disk    const image = await fileFromPath(imagePath)
    // create a new NFTStorage client using our API key    const nftstorage = new NFTStorage({ token: NFT_STORAGE_KEY })
    // call client.store, passing in the image & metadata    return nftstorage.store({        image,        name,        description,    })}
/**  * A helper to read a file from a location on disk and return a File object.  * Note that this reads the entire file into memory and should not be used for  * very large files.   * @param {string} filePath the path to a file to store  * @returns {File} a File object containing the file content  */async function fileFromPath(filePath) {    const content = await fs.promises.readFile(filePath)    const type = mime.getType(filePath)    return new File([content], path.basename(filePath), { type })}

/** * The main entry point for the script that checks the command line arguments and * calls storeNFT. *  * To simplify the example, we don't do any fancy command line parsing. Just three * positional arguments for imagePath, name, and description */async function main() {    const args = process.argv.slice(2)    if (args.length !== 3) {        console.error(`usage: ${process.argv[0]} ${process.argv[1]} <image-path> <name> <description>`)        process.exit(1)    }
    const [imagePath, name, description] = args    const result = await storeNFT(imagePath, name, description)    console.log(result)}
// Don't forget to actually call the main function!// We can't `await` things at the top level, so this adds// a .catch() to grab any errors and print them to the console.main() .catch(err => { console.error(err) process.exit(1) })- Run your script with node
You should now be able to run the script and give it the path to an image file. You'll also need to supply a name and a description for the NFT.
In the example below, we'll assume there's a file called token.png in the same directory as the script. If your file is elsewhere, replace token.png with the path to your image.
node upload.mjs token.png 'A name for my token' 'A longer description for the token...'Notice the quotes around 'A name for my token' and 'A longer description for the token...'. This causes the command line shell to treat the quoted text as a single argument instead of one for each word. Since our script is expecting exactly three arguments, you'll need to quote the name and description if there are spaces in them.
You should see something like this when you're finished:
Token {
  ipnft: 'bafyreifrkkhbwkf3fibwhbzcmpqnmh3b4t5t4ig7qdtymkdoatcycwe6n4',
  url: 'ipfs://bafyreifrkkhbwkf3fibwhbzcmpqnmh3b4t5t4ig7qdtymkdoatcycwe6n4/metadata.json'
}
The url is an IPFS URL that can be viewed with Brave and other IPFS-aware tools and browsers. For other ways to access your token data, see our guide to retrieving NFT data.